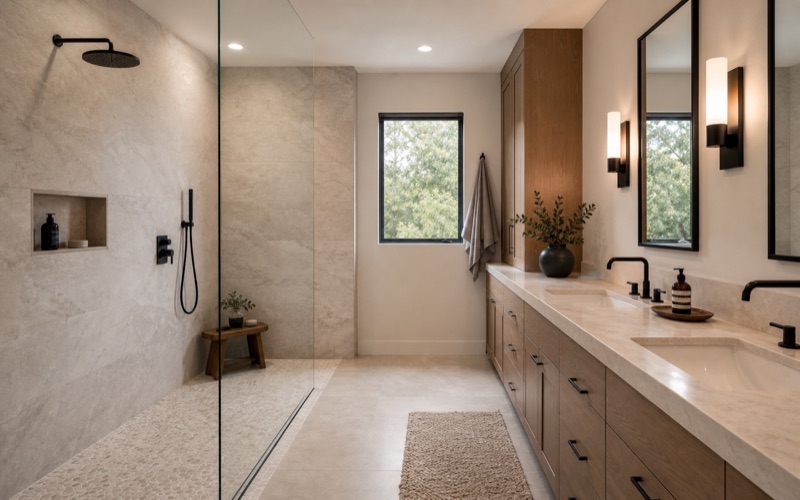
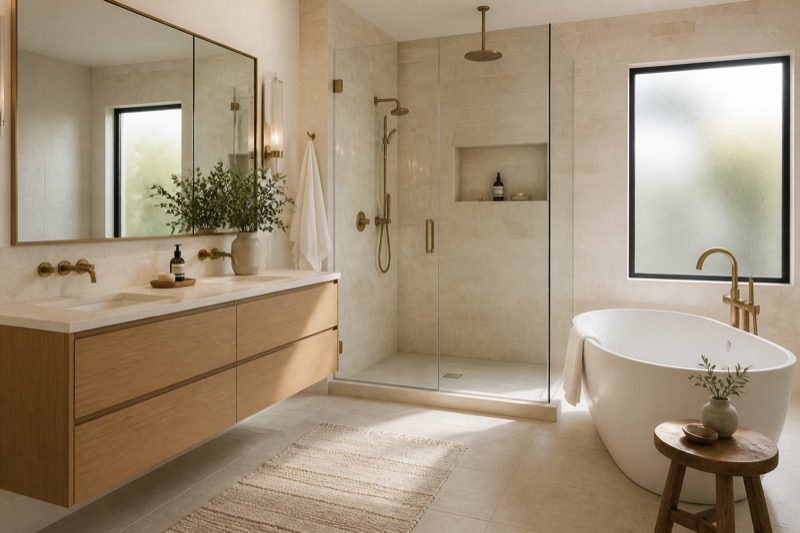
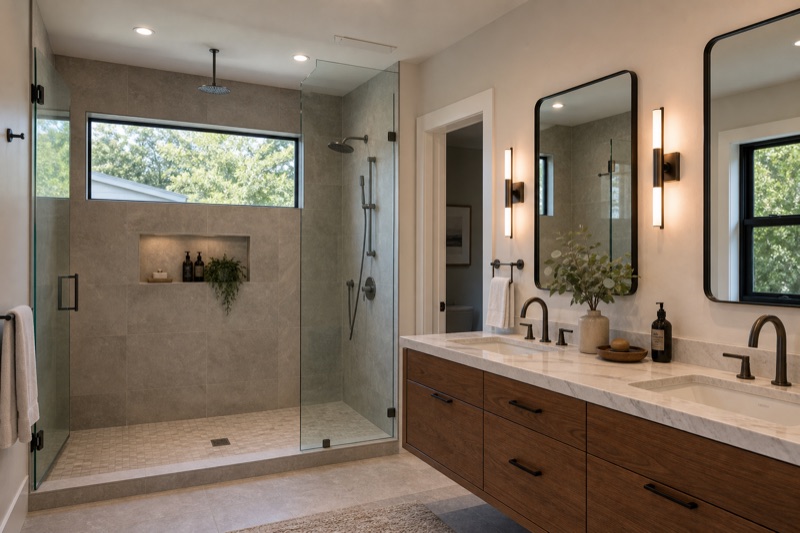
A curbless shower needs space for a sloped, waterproof assembly while meeting the bathroom floor at the entry. Before choosing tile or glass, resolve the floor height, supporting structure, drain position, water exposure, and the way the room will be used.
The most useful early drawing is a section through the floor and shower entry. It should show how the idea works below the finished surface, not only how the tile will look. Use these questions to prepare a bathroom scope review.
Start with floor heights and the structure below
Schluter identifies three approaches within its shower system: recessing the shower floor, using a tray and ramp, or raising the surrounding bathroom floor. The viable choice depends on the existing construction and the intended transition. Review the manufacturer’s curbless planning guidance for that system; other assemblies need their own details.
Ask the design team to identify the floor construction, joist or slab constraints, available drain route, and finished elevations at both the shower entry and bathroom doorway. An upper-floor shower also raises questions about access to plumbing and the ceiling below.
Recessing cannot be assumed to mean cutting structural members. Any proposed structural alteration needs appropriate assessment and design. Raising the bathroom floor may move the level-change problem to the hall or bedroom doorway, so show that transition too.
Choose the drain with the slope and tile layout
A linear drain is not a requirement for a curbless shower. Point and linear options can both be used in suitable systems, but their layout changes the sloped surfaces and tile cuts. Schluter discusses those options in its curbless shower overview.
Ask for a coordinated plan showing the drain, floor slopes, shower opening, glass, showerhead direction, and adjacent dry-use areas. Confirm the selected drain and assembly are compatible and that drain capacity, outlet routing, and access for cleaning have been considered.
For large floor tiles, review how the layout follows the required planes without awkward transitions. For any tile, discuss wet-area suitability, maintenance, and the actual user’s footing. A photograph cannot establish those properties.
Draw the waterproofing boundary beyond the opening
The waterproofing plan should identify all areas subject to water exposure, including the entry and relevant surrounding floor. Schluter’s curbless guidance emphasizes treating slope, drainage, and waterproofing as a coordinated assembly because there is no curb defining the wet area. See its system guidance.
Have the scope identify the chosen membrane or waterproofing system, substrate, drain connection, wall-to-floor transitions, niches, benches, penetrations, and glass attachment points. Ask who checks those details before tile and fixtures conceal them.
Keep the discussion specific to the selected system. Do not combine a detail from one manufacturer with a product from another without confirming compatibility and installation requirements. Glass placement and splash control also need to match the way the shower will be used.
Plan the verification before tile installation
Ask when the waterproofing inspection or water test occurs, who performs it, what must be ready, and how the result is documented. Include that step in the construction sequence rather than treating it as a question for the tile-installation day.
Schluter publishes a curbless water-test demonstration. The installer must follow the chosen manufacturer’s instructions and local inspection requirements, including the appropriate test method, curing, and temporary water containment. This guide does not set a universal test duration.
Separate a flush entry from complete accessibility
A shower can have no curb and still be difficult to use. Consider the approach through the bathroom, entry width, maneuvering space, reachable controls, seating, grab bars and their support, handheld shower use, storage, and whether a helper needs room.
The U.S. Access Board bathing-room guide shows that accessible bathing design involves these elements together. It explains ADA standards where applicable; it is not a declaration that a private-home remodel must follow every ADA provision or that a flush entry makes it compliant.
Describe the intended user’s current and anticipated needs to the designer. If mobility equipment is involved, its dimensions and turning needs belong in the discussion. Confirm the applicable residential requirements and the agreed accessibility goals for the actual project.
Confirm the local permit and household sequence
There is no single Bay Area permit checklist. For example, Walnut Creek’s building-permit guidance lists bathroom remodels among work requiring a permit. Identify your jurisdiction and the full plumbing, structural, electrical, and ventilation scope before relying on an example from another city.
Also plan which bathroom remains usable, water shutoffs, access to the room or ceiling below, material staging, and the sequence for glass measurement and installation. If this is the home’s only bathroom, temporary arrangements are part of the project decision.
Bring these five questions to a scope review
- Can the intended entry height be achieved with the existing floor construction?
- Where will the drain go, and how will the slopes and tile layout reach it?
- Which areas will be waterproofed, with what system and verification?
- Does the whole room support the intended user, including controls, seating, and circulation?
- What drawings, permits, decisions, and temporary arrangements are needed before demolition?
Share current bathroom photos, available plans, floor location, known leaks, desired layout, and accessibility priorities. Continue with Bay Area bathroom remodeling or, for that location, Walnut Creek bathroom planning.